Showing posts with label ae86. Show all posts
Showing posts with label ae86. Show all posts
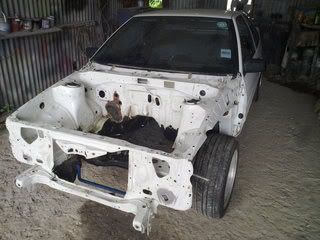
Hachiroku Project: Stripped...
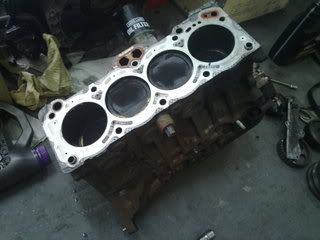
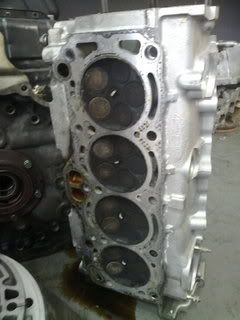
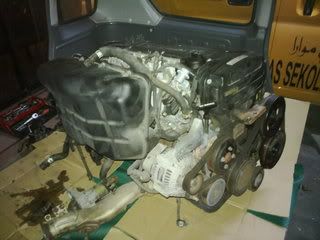
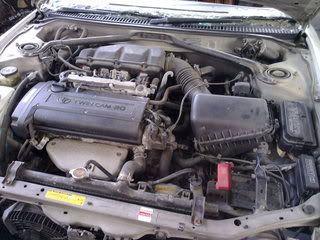
Got a chance today visiting the shop where i send the engine for overhaul.. Well, the work just started, head removed from the block waiting to be strip & clean..
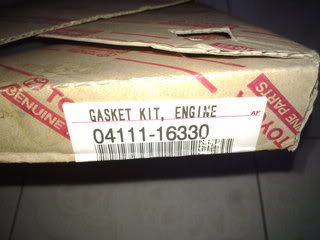
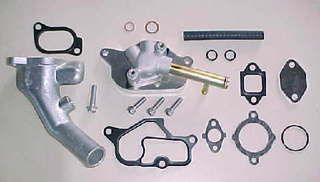
First of all, got the full overhaul kit for 20V BT.. Since 20V parts hard to get here so i ask SHIFTDOWN GARAGE to order them.. Well, credit to SDG for the fast & accurate service, parts arrived 3days later after ordering.. Thumbs up SDG!! Anyway, if you guys need any parts you can check their blog http://shiftdowngarage.blogspot.com/ for new & used parts for sale there.. Do not hesitate to ask them =)
20V BT FULL OVERHAUL KIT P/N. 04111 - 16330
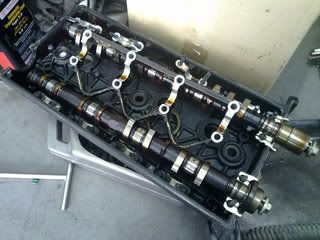
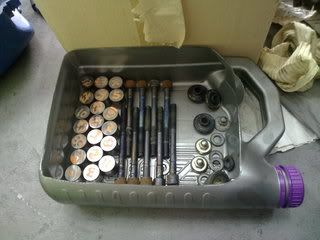
At the workshop, work just started, head components disassemble..
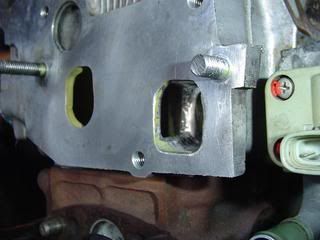
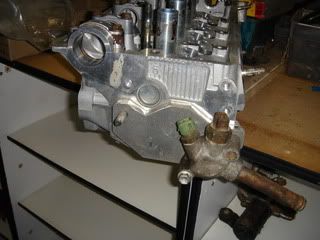
Need to do some re-work on the head, especially at the back of the head i ask the worker to make a hole for the new coolant route, so that i can use back my 16V rear water pipe..
Here's the RS-CHITA waterline conversion kit i mention earlier, as you can see they also use the stock rear water pipe from 16V head. The best thing with this kit is that they fabricate the top water neck that goes to the top radiator inlet so that the bypass pipe from the 16V thermostat housing can be used back just like a stock setup.. FYI, 16V rwd water pump will be use for this application. Well price is over USD500 with shipment just to get it here!! So i dump it from my wish list! LOL!
Instead of the kit, got the idea from a guy whose also doing the 20V conversion on his ae86.. This will how it looks like basically..
The new hole (inside) for the coolant route..
With 16V stock rear water pipe on a custom plate to block the other hole.. Brilliant!
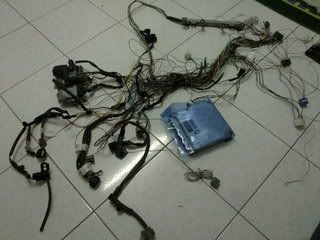
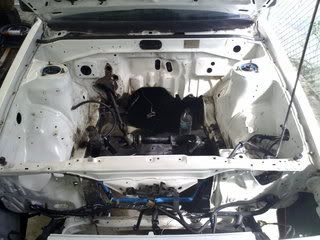
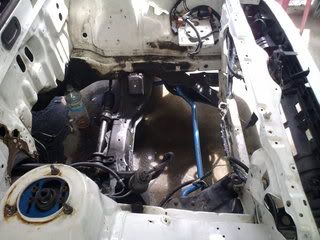
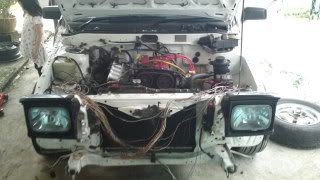
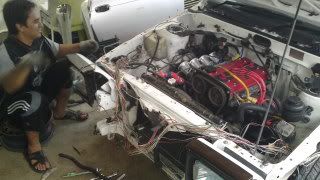
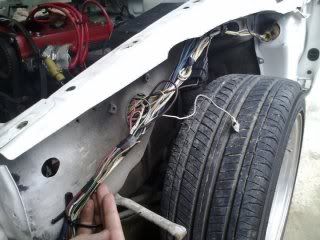
At the meantime, here's a work in progress I've done at home.. Removed all the unnecessary plugs & wiring... But still i need to wait for the engine so that i can easily layout the wires, blah, blah, blah...& so on..
Hachiroku Project: TONNKA..
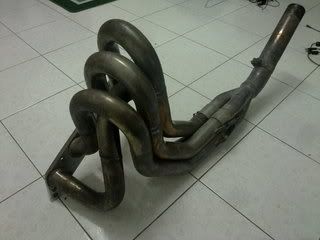
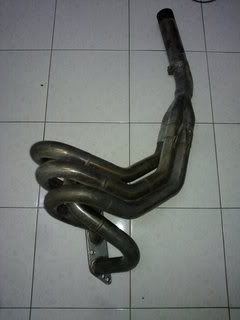
While i was away, bought this from a friend of mine in Malaysia..
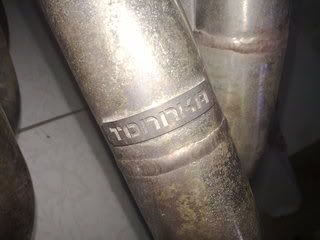
AE86 extractor by TONNKA.. Not so clean but it'll do it =)
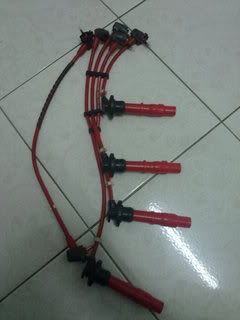
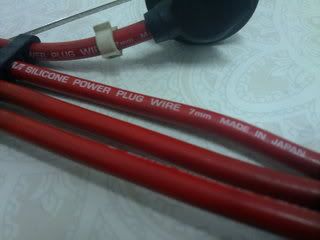
Extra parts, ULTRA plug cable for my 20V..
Going to sent the engine for a general overhaul soon.. While waiting i will finish up the engine bay, wiring, move the fusebox into the glove box (thanks to "Azrin" from http://freedom-spec.blogspot.com/) got the idea from his jzx81, damn nice work!! Hope i manage to do it =)
More updates coming..
Hachiroku Project: New Heart..
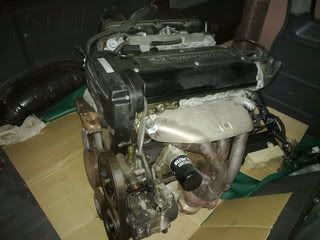
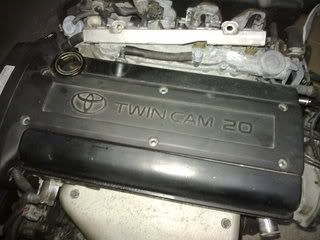
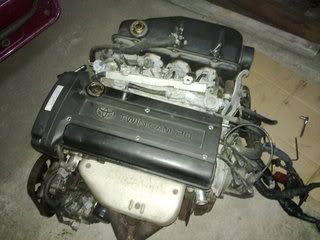
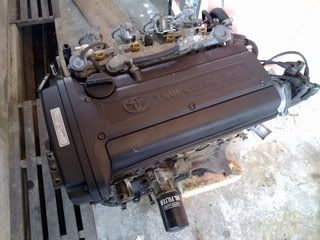
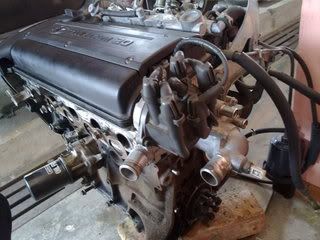
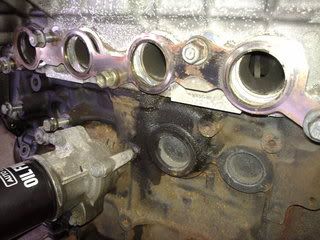
Yes, the new heart is here.. Need to refresh a bit, replace leak top gasket & so on... Here are the photos..
An hour later, engine stripped..
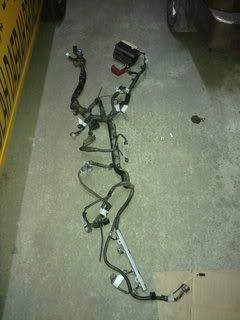
Harness..
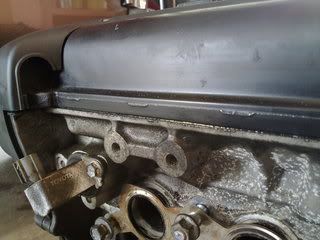
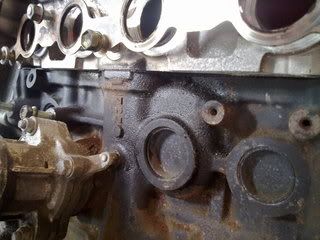
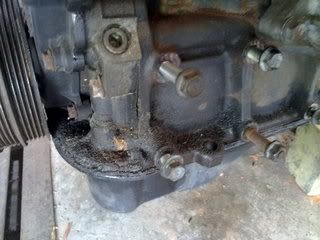
Leaks..
It's been leaking here & there but not major, thinking of sending it to shop for overhaul.. Put a new race bearing, metal head gasket, (maybe).. I'll be away for a while so just stay tune for more updates soon.. Good day =)
Hachiroku Project: Clean & fresh..
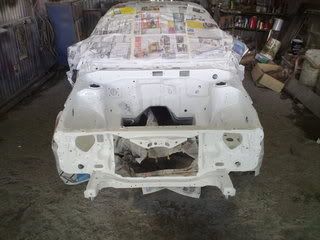
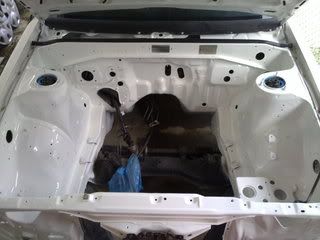
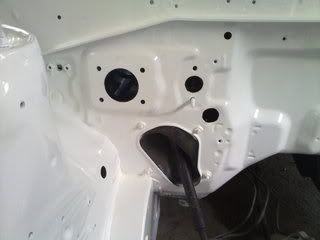
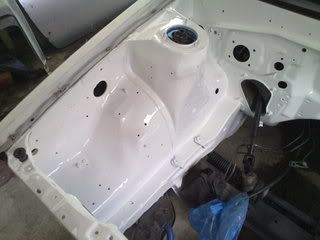
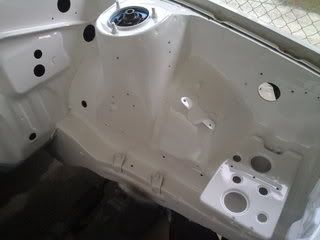
The car is out & now sits in my garage, not bad for the new paint job i can say.. Thumbs up to MOHD RAPIE a.k.a. the painter for the good job!! =D Here's a few photos of the car...
Freshyyy...
Rust removed..
Super duper clean, LIKED!!..
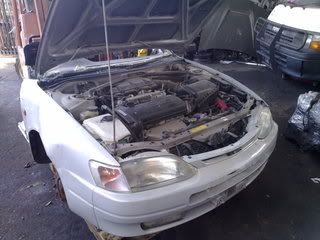
Not to forget, the donor car..
Started & idles okay..
Well engine haven't arrive yet, hopefully by next week..
Things to do next:
1. Install brake booster, brake lines, clutch pumps & lines, wiper motor & many more...
2. Re-do & tuck wiring.
3. Buy RS-Chita waterline kit (still thinking cos price is around usd500 - 600 w/shipment!!!) or else fabricate custom kit (more cheaper)..
4. Re-locate dizzy..
More updates coming up.. Cheers
Hachiroku Project: Update..
Well, long time no update, here's a few photos of the project so far....
Removed the old 16V & sell it off to a friend..
Since engine is out, installed a re-condition ke70 manual rack that i bought from a local shop (with a good price tho) & TRD front anti-roll bar..
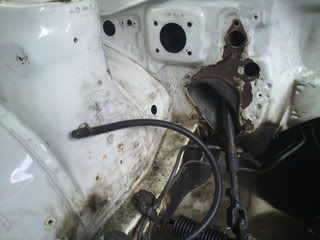
Brake lines, brake servo, clutch line, harness, etc. removed for engine bay paint job..
These were the cancer a.k.a. rust due to leak clutch master pump, need to be repair...
Well, things doesn't turn to what it suppose to be.. New plan was to install 20V blacktop in it, re-route, tuck the wiring & make it as a clean 20v swap as possible.. May God be with me =) Still waiting for the new engine tho, i'll update more on the rest of the project.. Good day..
SR86 Levin..
Why SR86?
Well, this AE86 Levin is equip with an engine with no furthur intro, the famous sr20det from a "S" chassis,replaced the NA power of 4AGEs. 4AGE's now have to give way for the turbo powered of SR20, as the owner is a turbo freak, but still love the 86 chassis. Outcome,turbo plus lightweight equals Big grins on the owners handsome face..hahaha
just enjoy the pics...!!
its a masterpiece..no?
Well, this AE86 Levin is equip with an engine with no furthur intro, the famous sr20det from a "S" chassis,replaced the NA power of 4AGEs. 4AGE's now have to give way for the turbo powered of SR20, as the owner is a turbo freak, but still love the 86 chassis. Outcome,turbo plus lightweight equals Big grins on the owners handsome face..hahaha
just enjoy the pics...!!
yes Levin SR. The SR have been thru minor modifications. Turbo have been upgraded to a GT28 from newer version of SR T28 mounted on a aftermarket manifold. FMIC is hidden to hide its identity with a custom stainless steel pipings and breath thro HKS air filter.
a fighter cockpit..all custom cluster..
its a masterpiece..no?
Hachiroku Project: Part Two
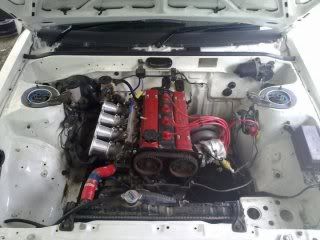
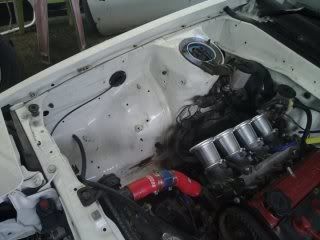
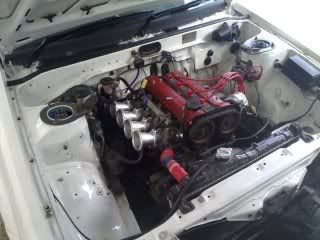
Part Two - Bluetooth/wireless engine
Purpose is to for nicer engine bay looks,less crowded and to remove excessive wirings.
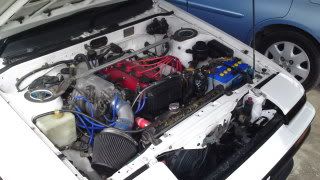
here's an example of what they did to their engine bay..
The work begins..
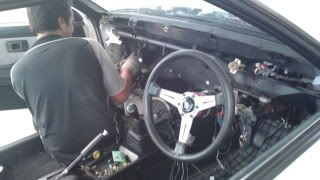
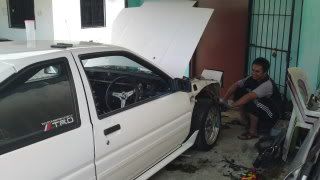
strip down the bumpers, fenders,dashboard and whatever is in the way.
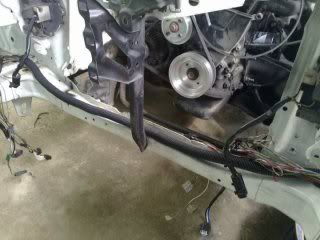
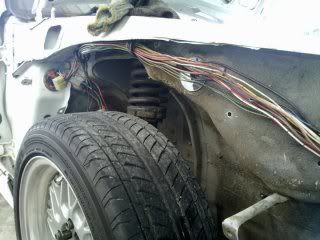
Alot of de-pinned,re-routed, segragate, elongation of wires, kept & stow all the not needed wires.
few items have been relocated to other areas.
New routings..
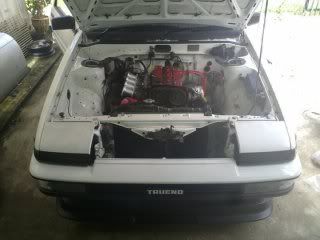
the outcome..
put back the fender,bumpers and ready to go..
need to do functional and operational checks nxt time..
overall a pure satisfaction DIY
Before & After..
whats next? stay tune for part 3...
Subscribe to:
Posts (Atom)


